 |
DvsenseDriver
1.2.6
The SDK for dvsense products.
|
|
DvsenseDriver
1.2.6
The SDK for dvsense products.
|
Download the installer from the Software and SDK Installation page.
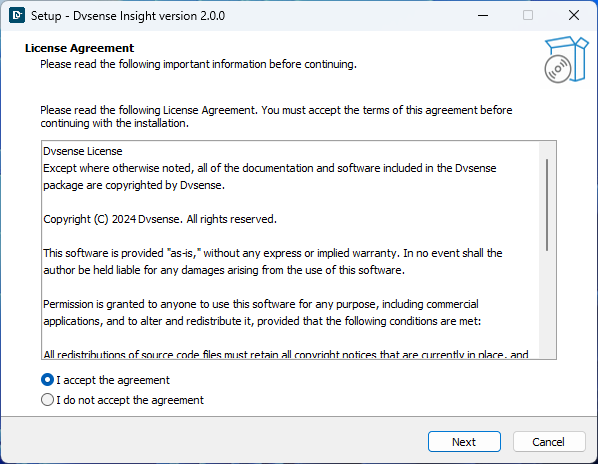
The installer requires administrator privileges. Select Yes when prompted.
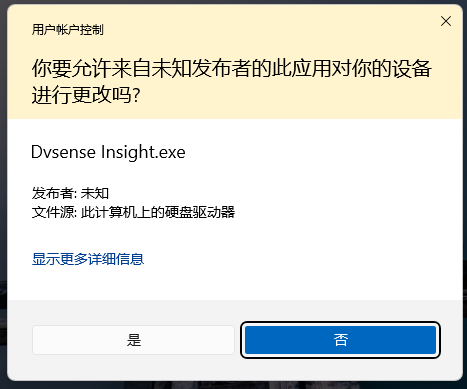
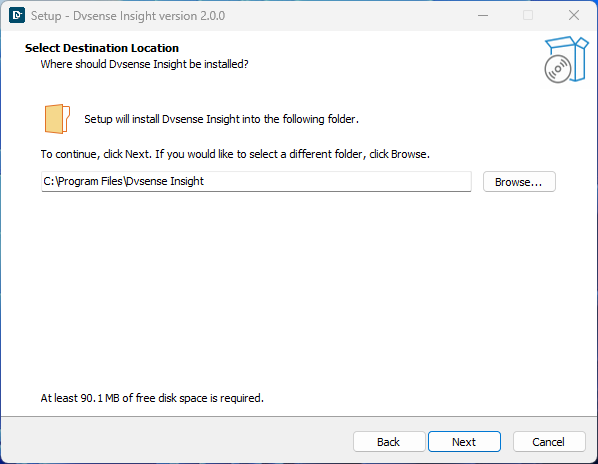
Choose the installation directory, and then click Next.
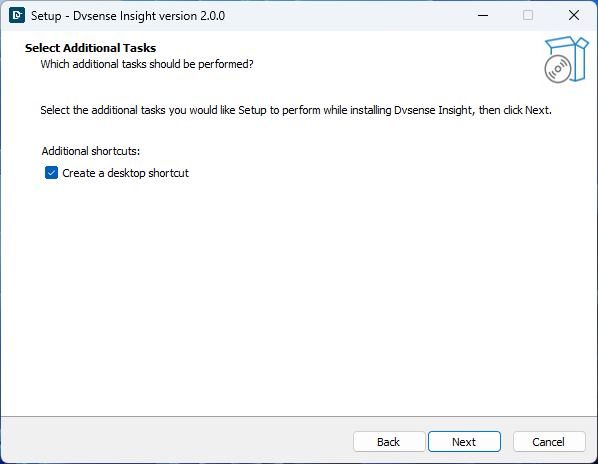
Enable the desktop shortcut option if required, and then click Next.
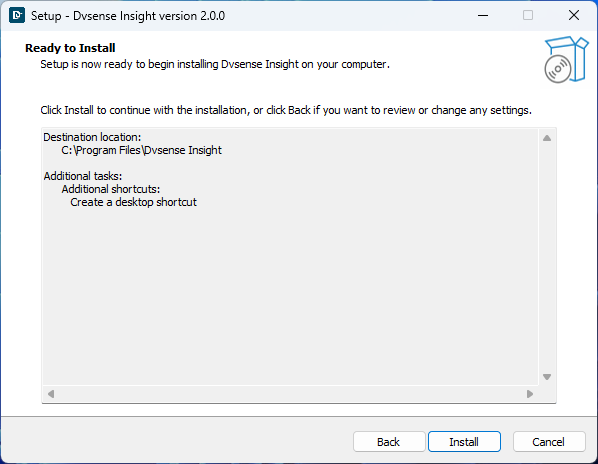
Click Install.
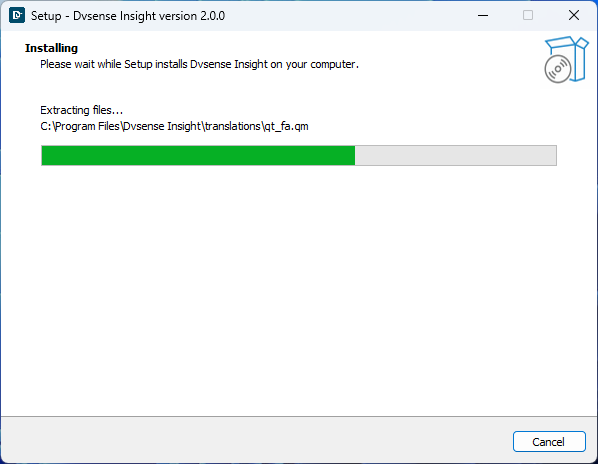
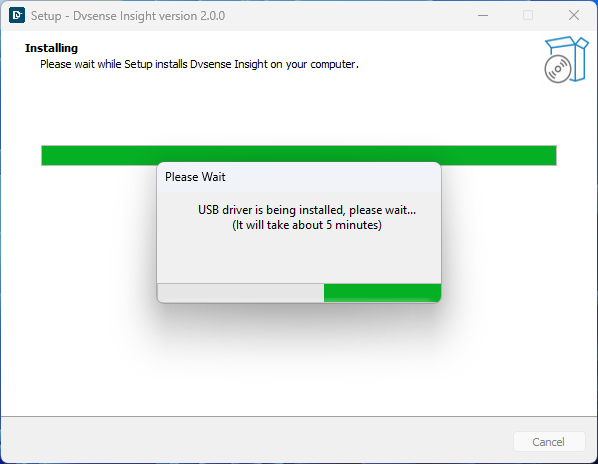
A USB Driver installation prompt appears during installation. Wait for the driver installation to finish; this normally takes about five minutes.
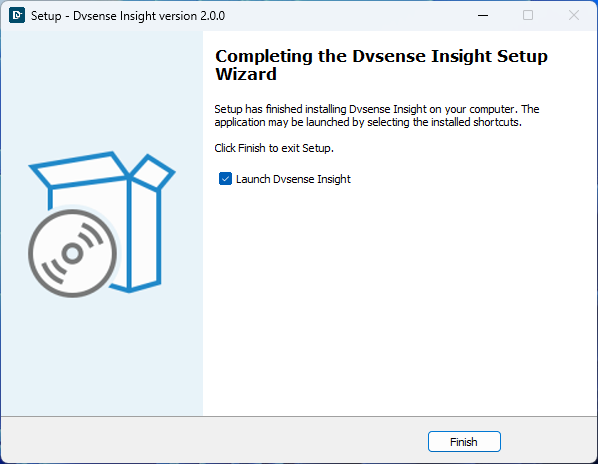
When installation is complete, select Launch DvsenseUI, and then click Finish. DVSense Insight starts automatically.
The main window is displayed after DVSense Insight starts.
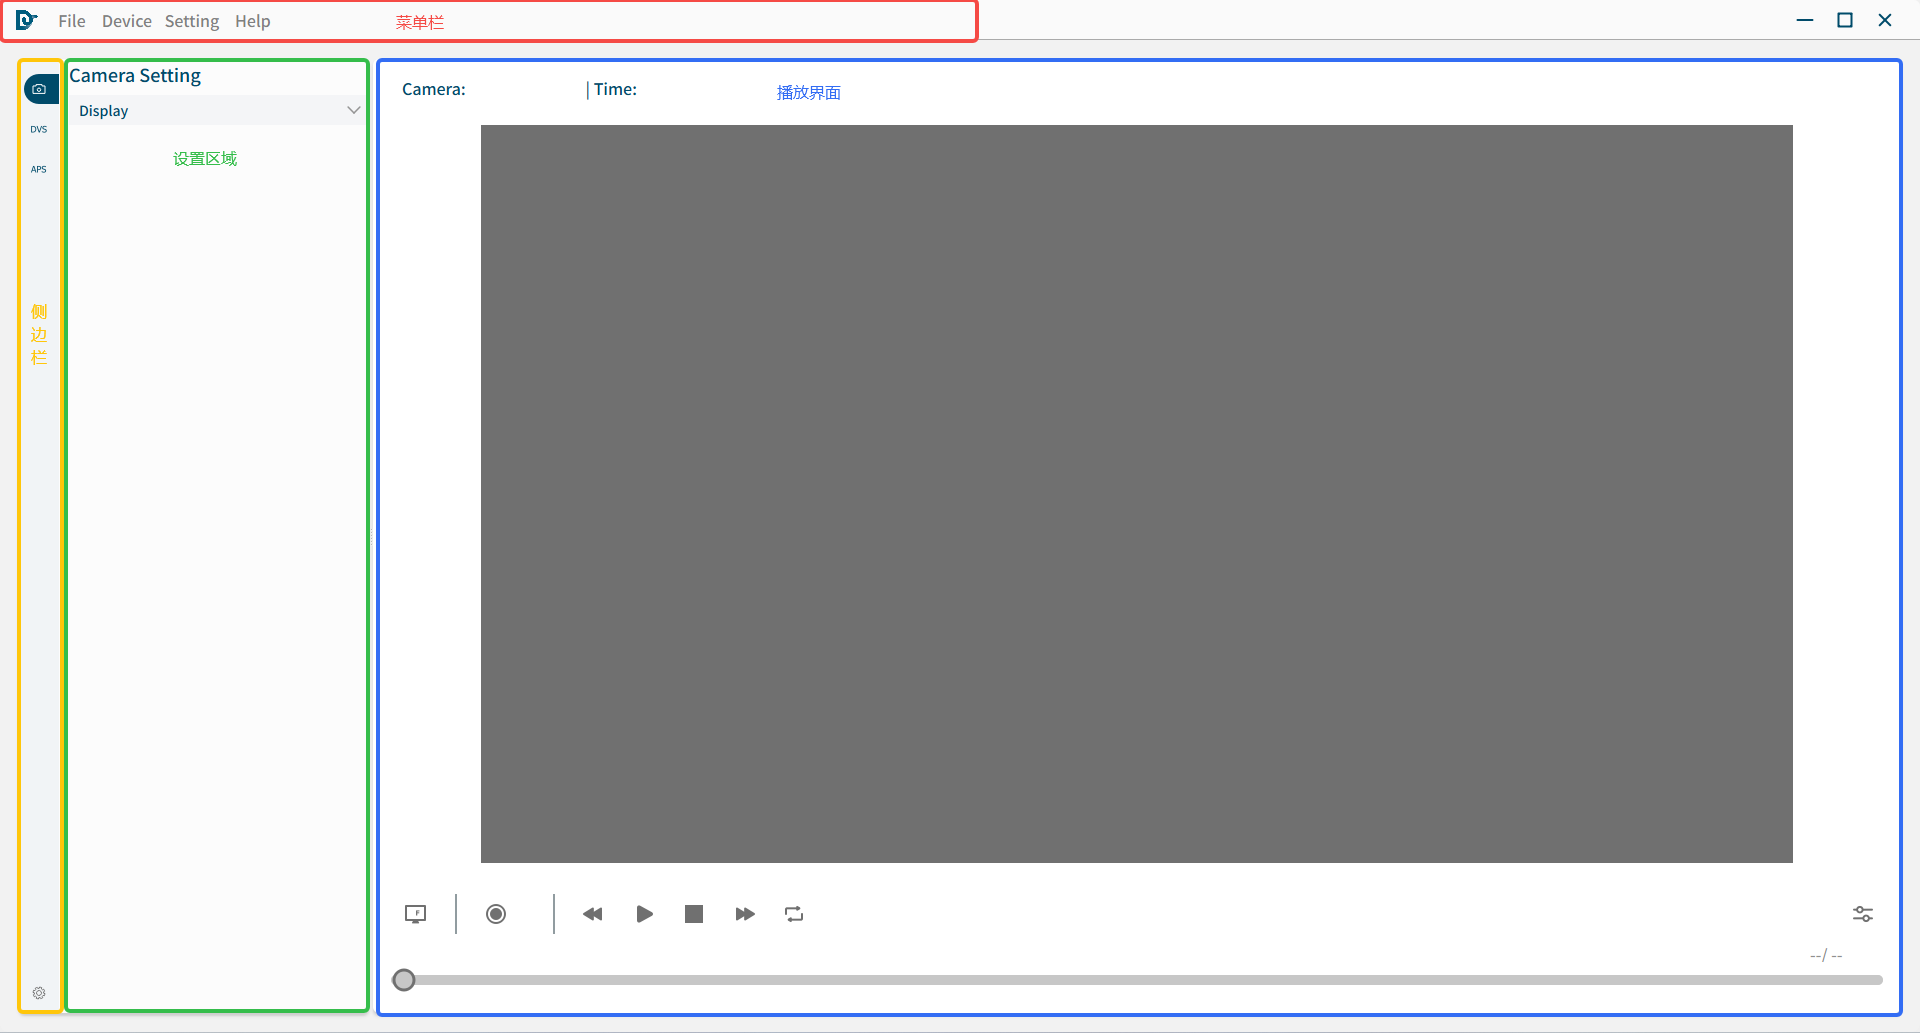
The menu bar contains the following menus:
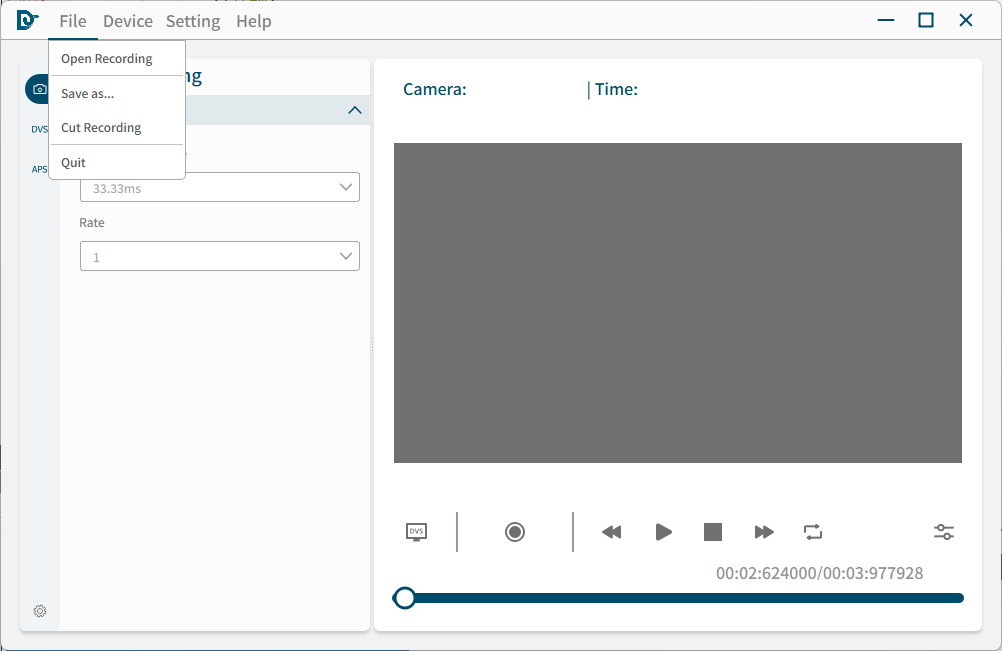
The File menu contains the following commands.
a. Open Recording
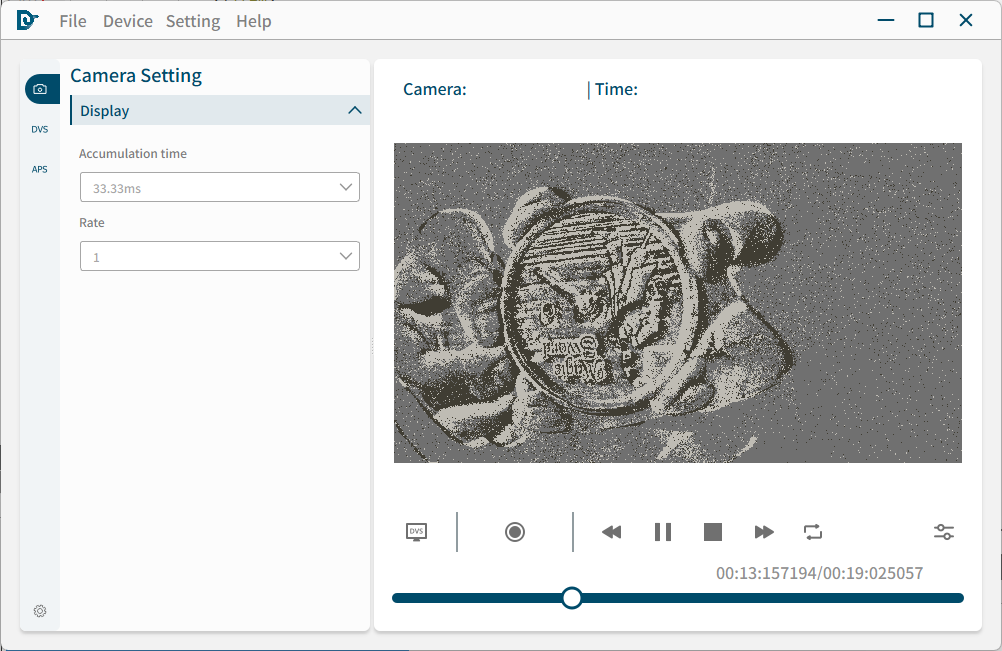
Select a RAW recording, and then double-click the file or click Open. A progress window is displayed while the file is loaded. Large files may take longer to open.
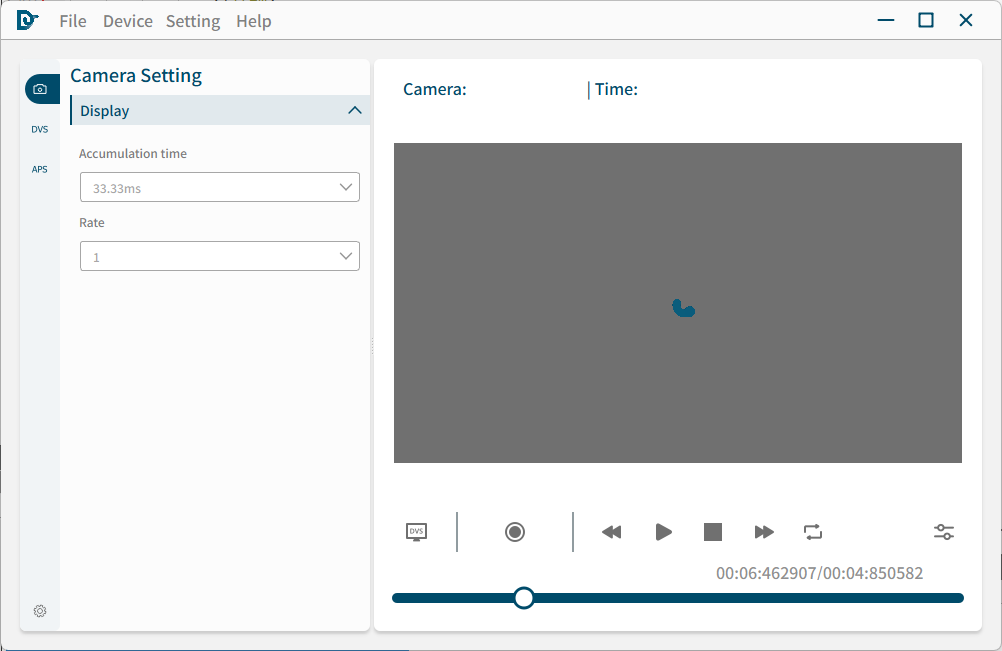
After the file opens, DVSense Insight plays the recording and displays the event image. The default display frame rate is 30 frames per second and the accumulation time is 33 ms.
b. Save As
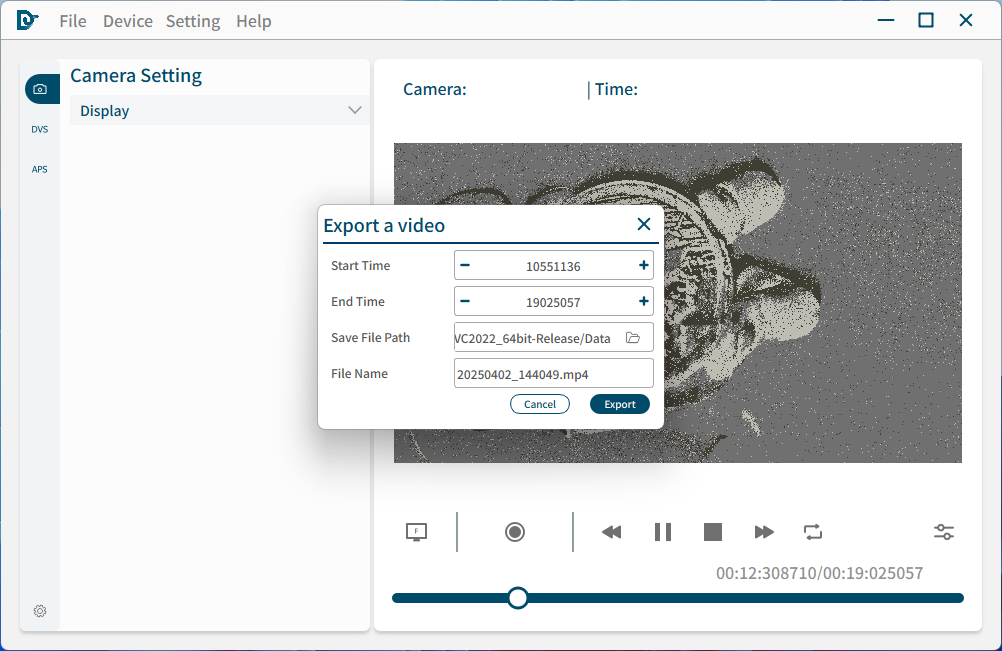
While playing a recording, use Save As to export the recording as an MP4 video. In the export dialog, set the start time, end time, output directory, and file name. The start and end times can also be adjusted with the handles in the playback view. Click Export to create the video.
c. Cut Recording
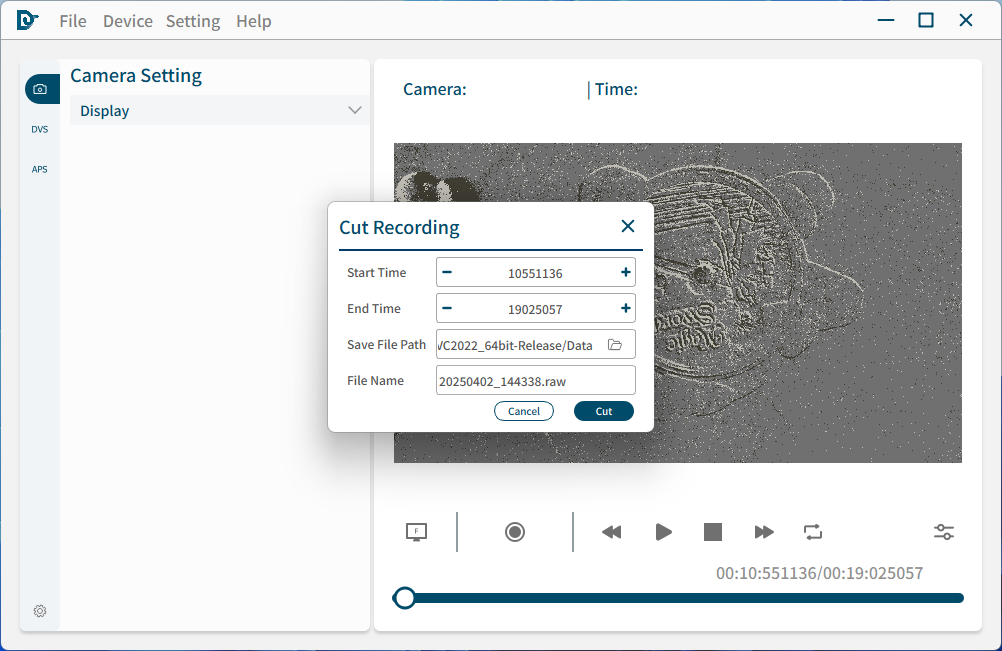
Click Cut Recording to open the file trimming dialog. Configure the required parameters, and then click Cut to trim the opened recording.
Quit closes DVSense Insight.
The Device menu provides the OpenCamera command.
DVSense Insight supports DVSLume, DVSLume-G1, DVSync, and the DM3 module/camera, and is compatible with Prophesee EVK4. Select and open each product from the camera list using the following procedure. Opening DVSync switches the interface to fusion-camera playback mode.
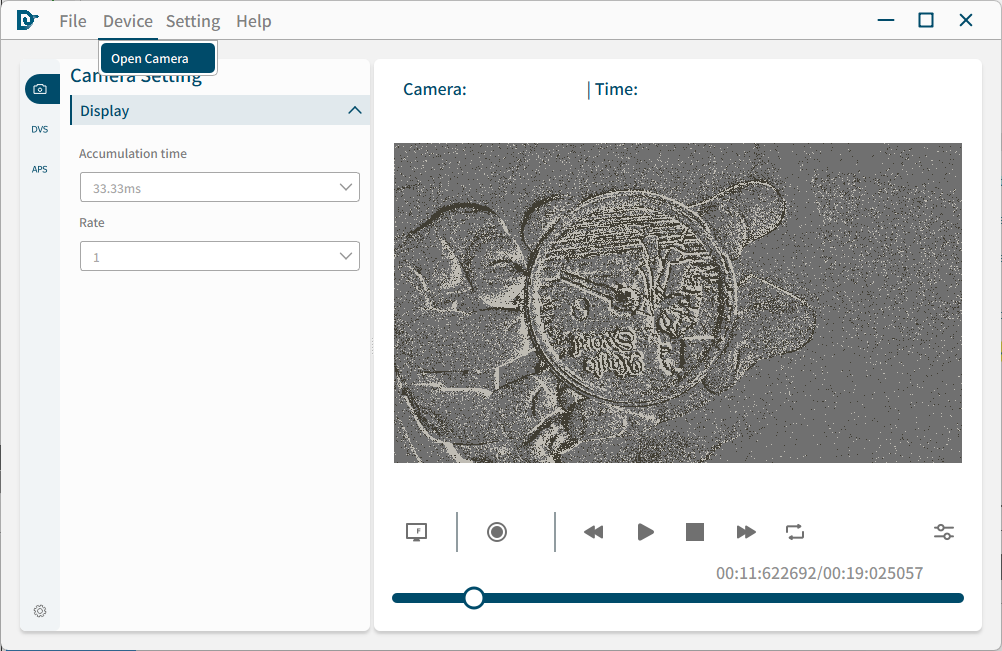
Click OpenCamera, select a camera in the camera list, and then double-click it or click Open.
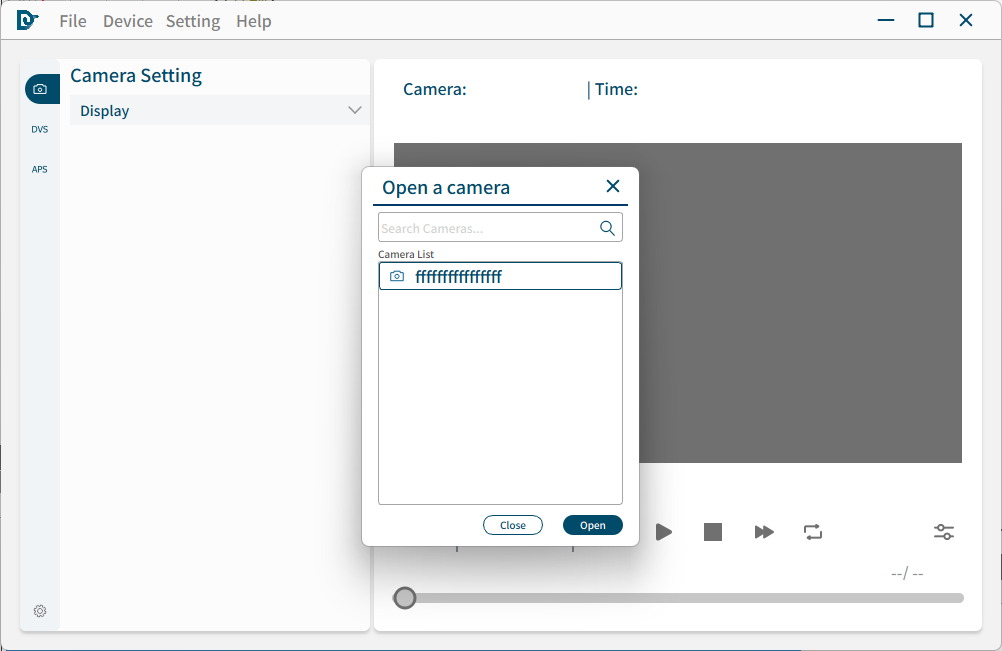
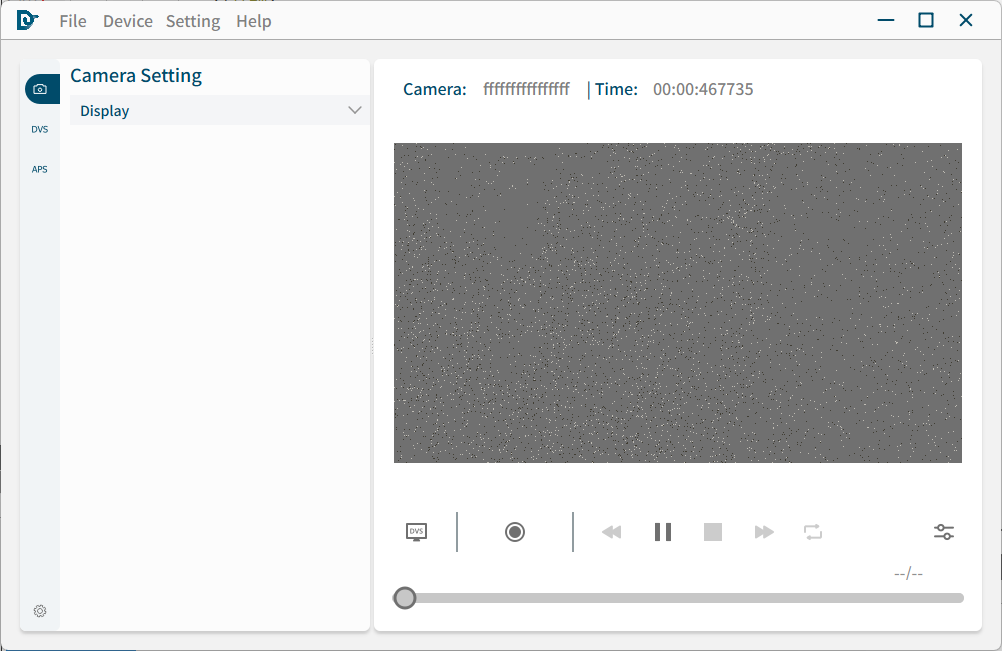
The camera starts streaming automatically after it opens.
The Setting menu is shown below.
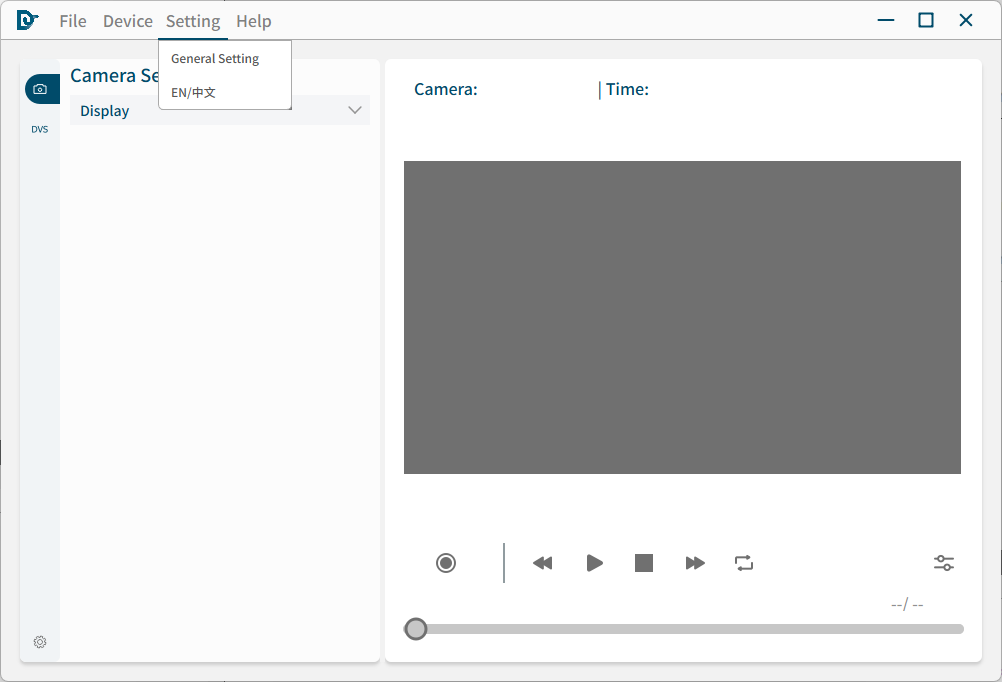
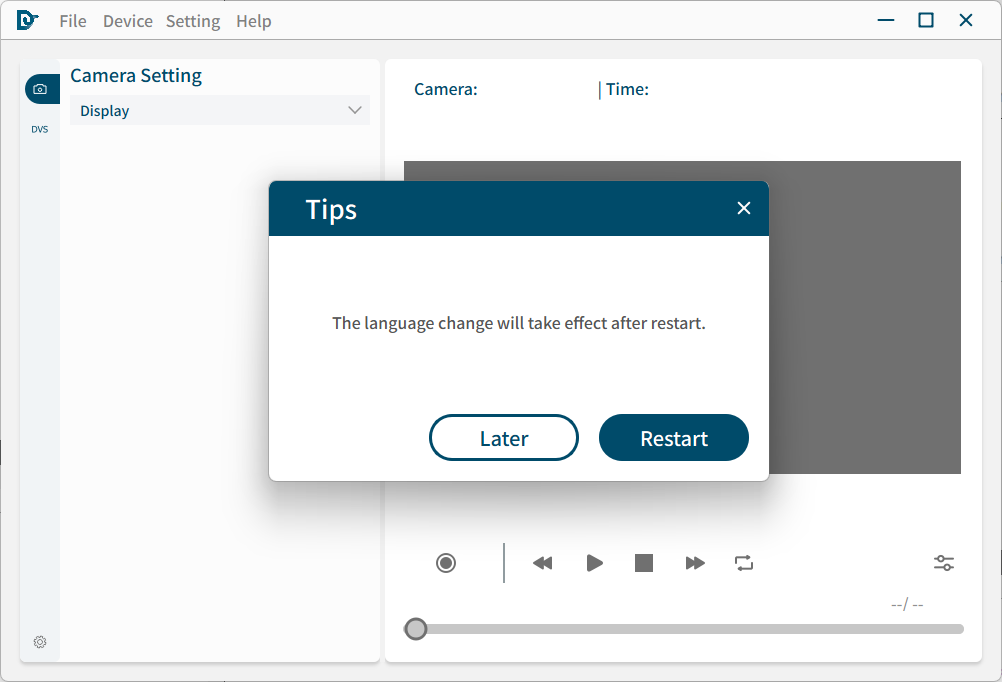
The menu contains the following commands:
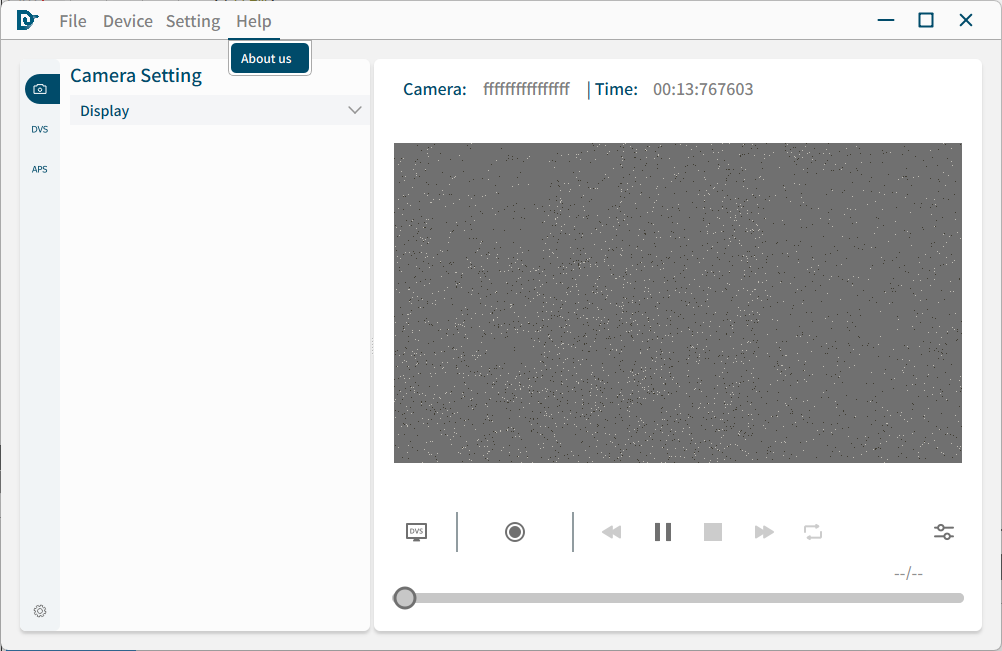
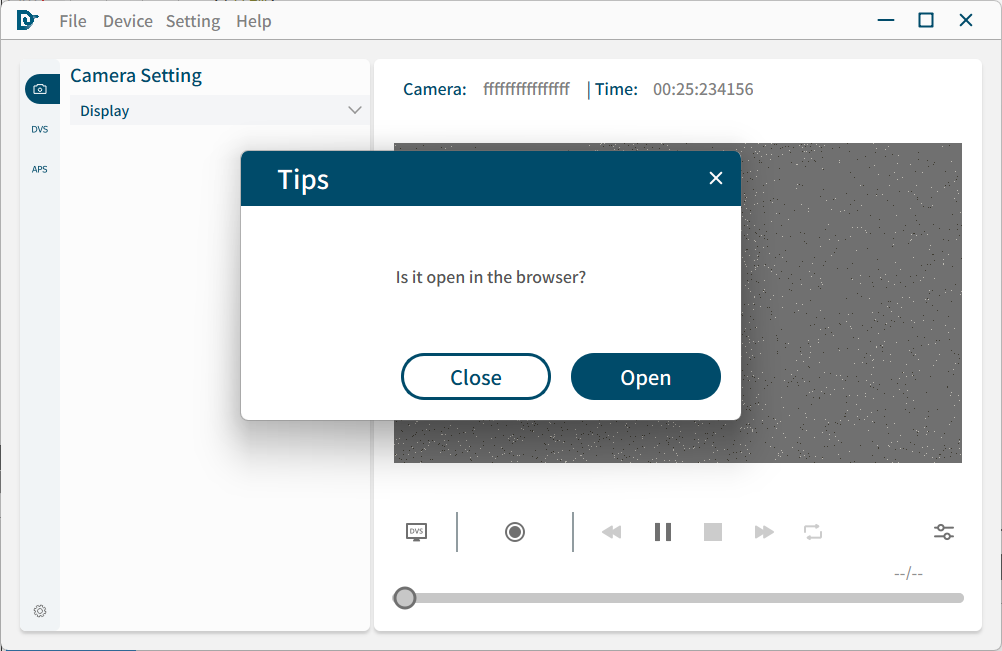
The Help menu provides an About command. The dialog can open the DVSense website at https://dvsense.com/ in the default browser.
The playback view supports camera playback mode and file playback mode.
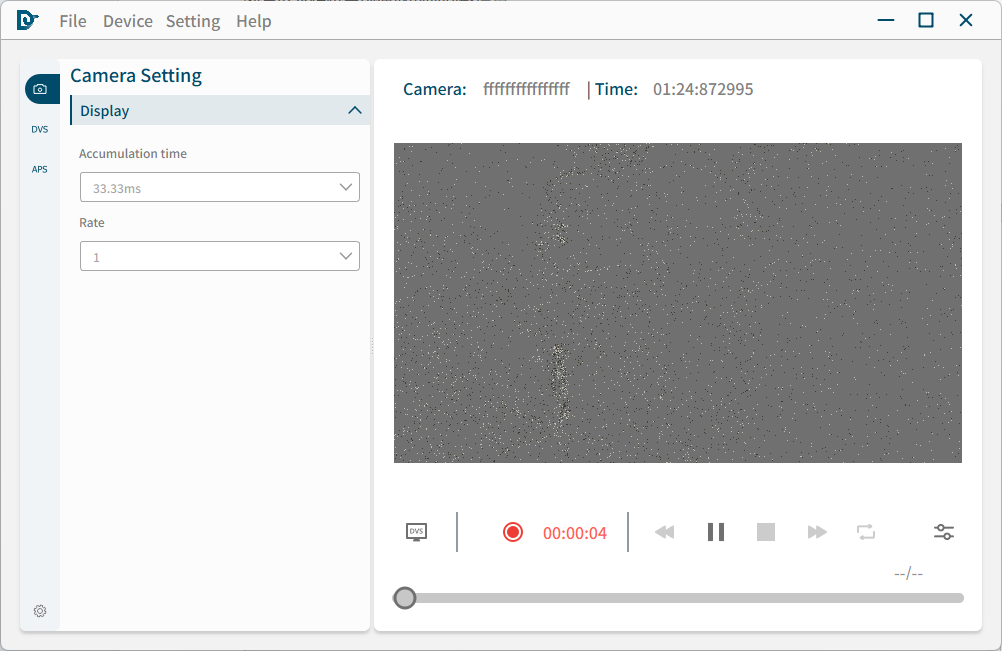
During live camera playback, file-playback controls are disabled. The camera serial number and current timestamp are shown above the display area.
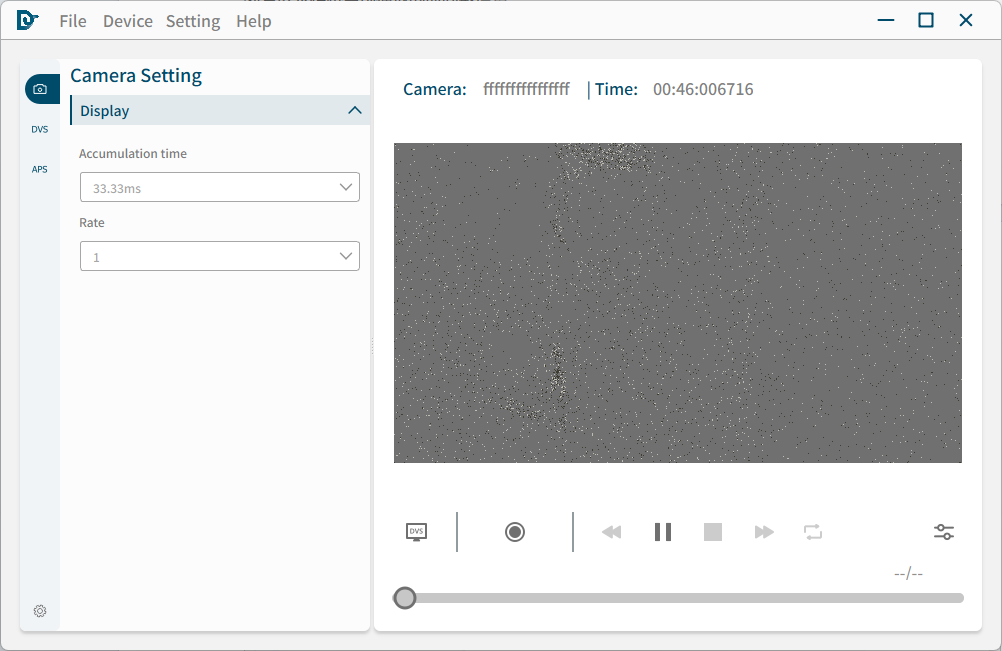
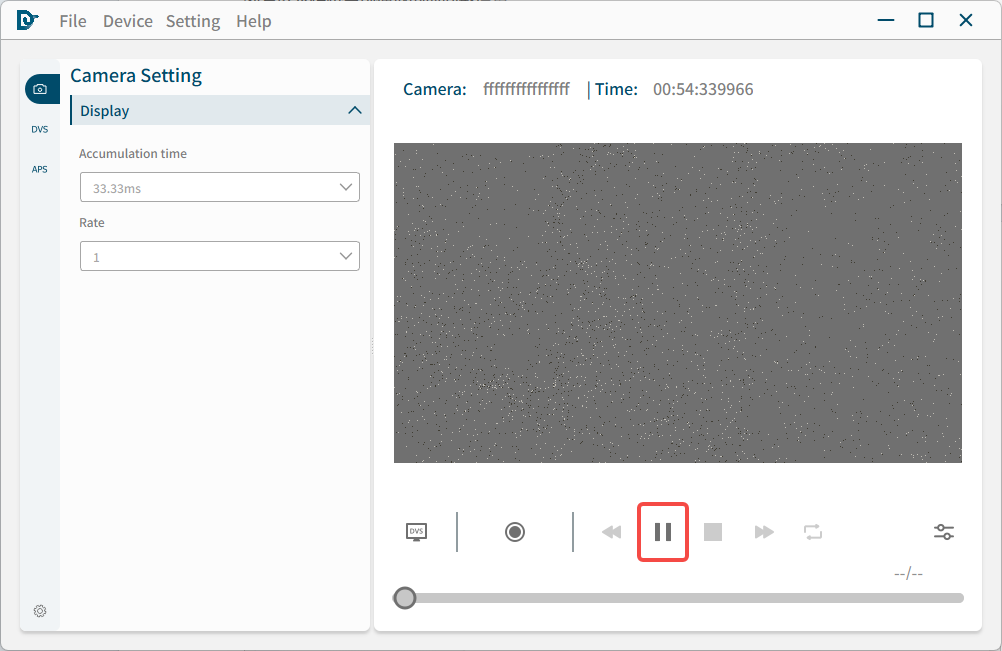
a. Play control
Click the play button to start or stop streaming.
b. Recording control
Click the recording button to start recording. Configure the recording directory in General Settings. The file name is generated from the current date and time, and the elapsed recording time is displayed while recording. Click the button again to stop.
File playback mode provides the following controls:
By default, playback stops at the final frame.
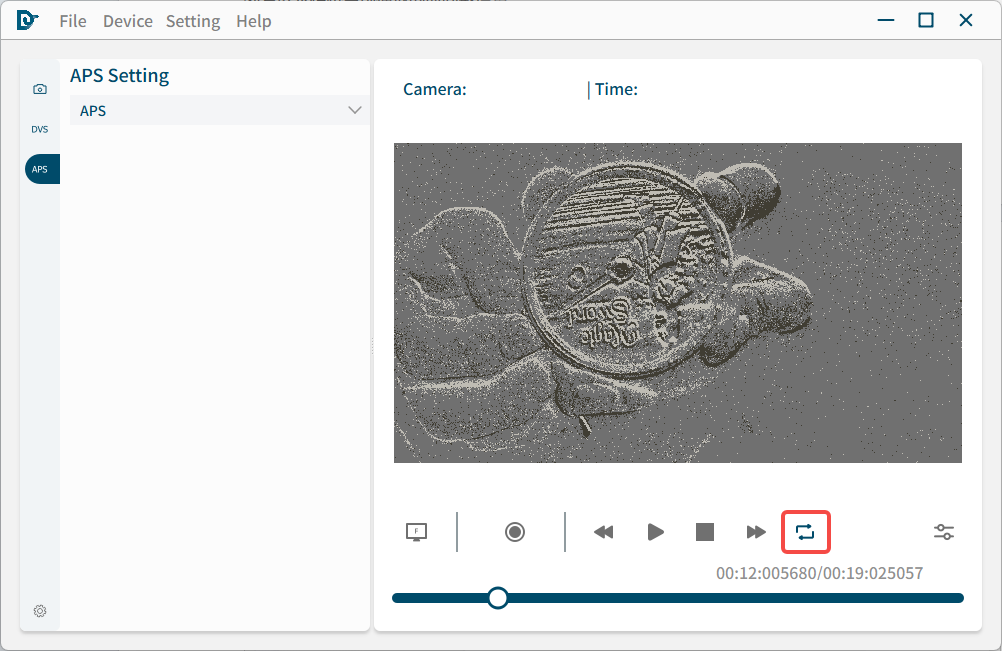
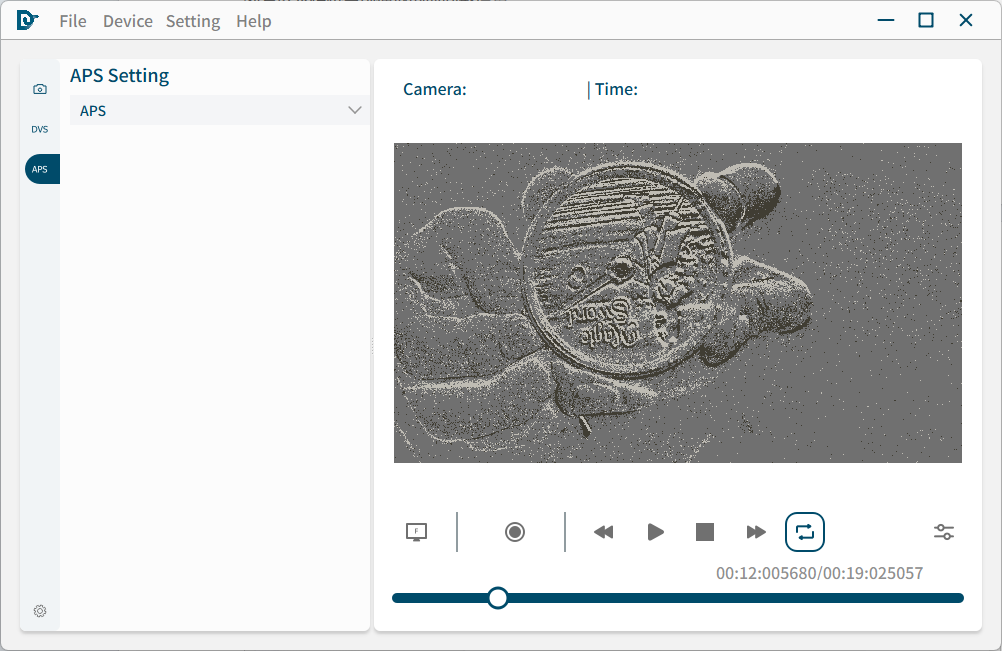
Click the loop button to enable loop playback.
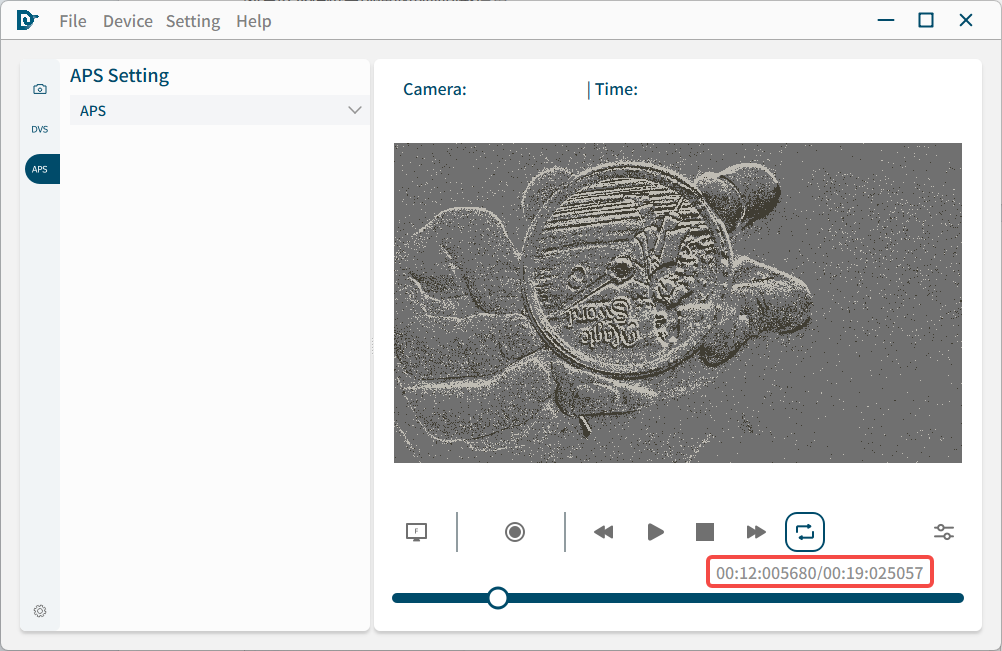
Timeline
Drag or click the timeline to seek to a specific timestamp. The value to the left of / is the current event timestamp, and the value to the right is the final timestamp in the recording. These are device timestamps captured during recording and do not necessarily start at time=0.
Start and end markers
Click the configuration button in the display view to show the start/end marker switch.
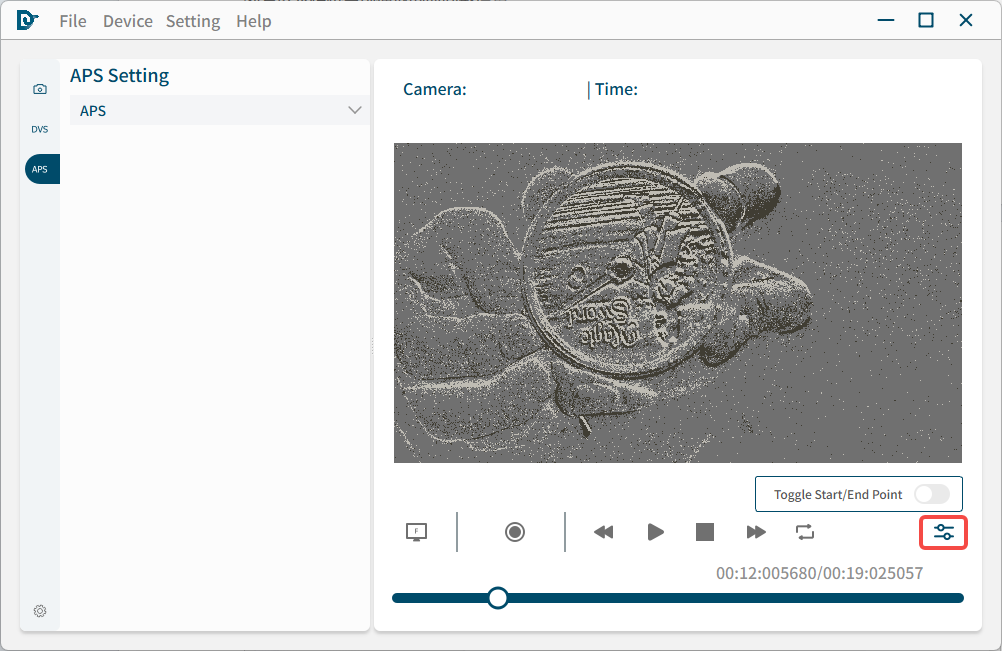
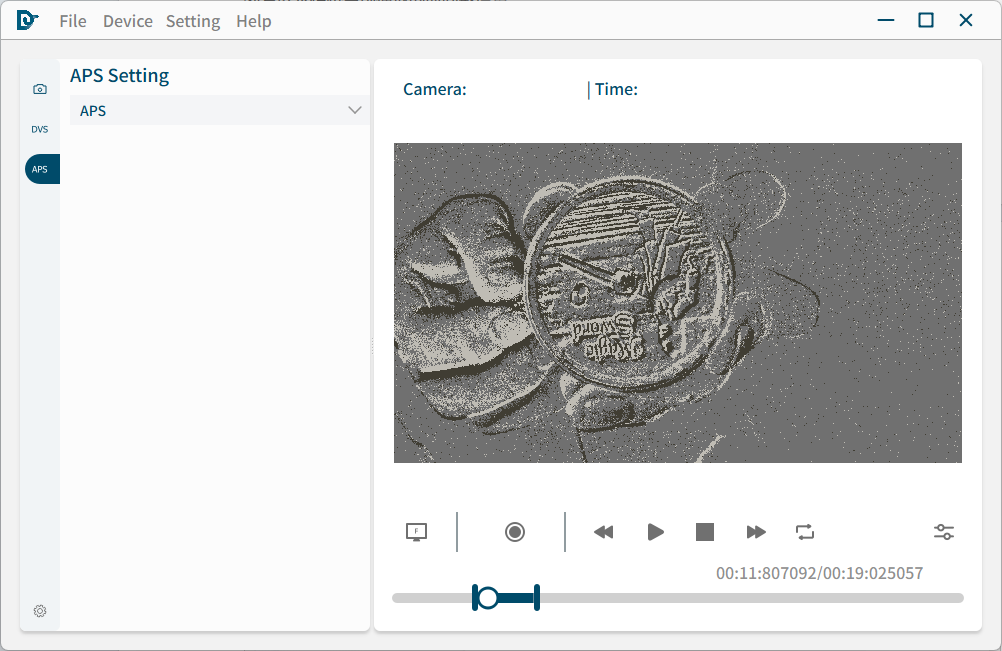
After enabling the switch, handles appear on the timeline. Drag the handles to select the playback range or to set the time range used for video export and file trimming.
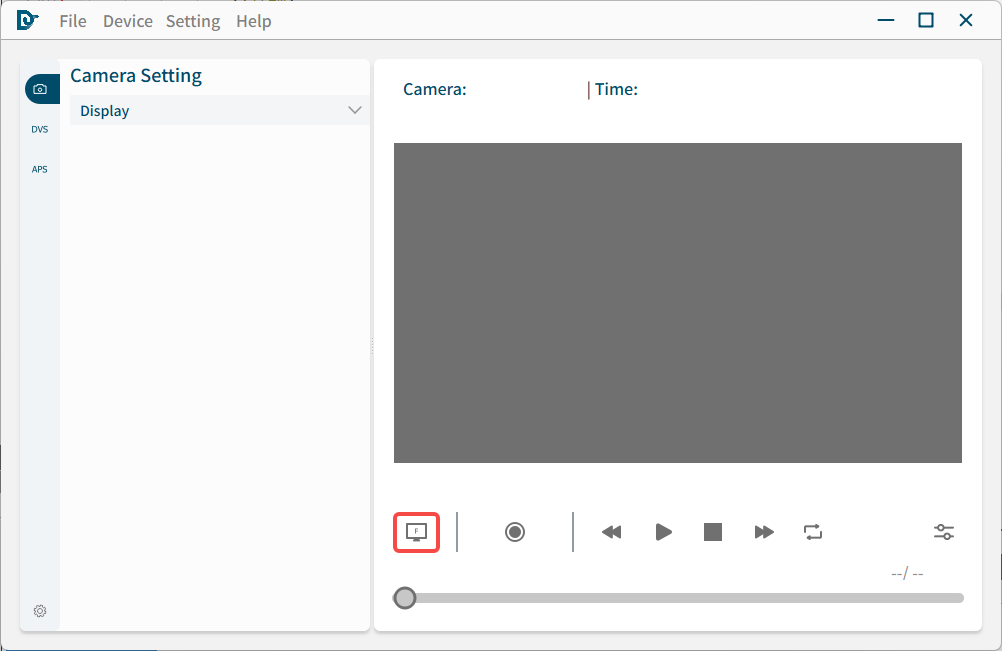
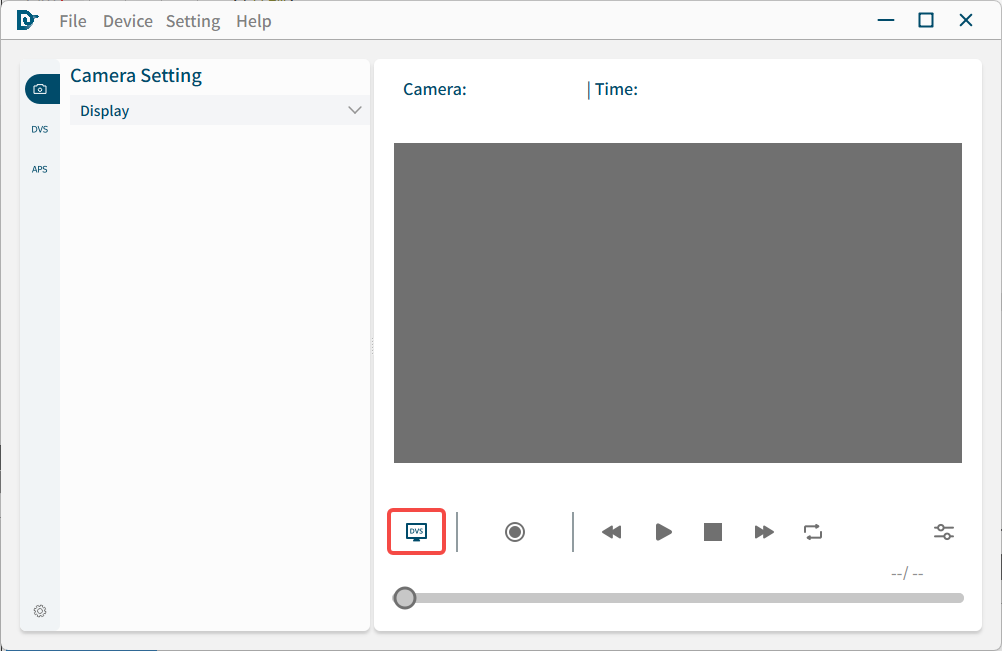
This mode applies only to DVSync. Use the display-mode button to select one of the following views:
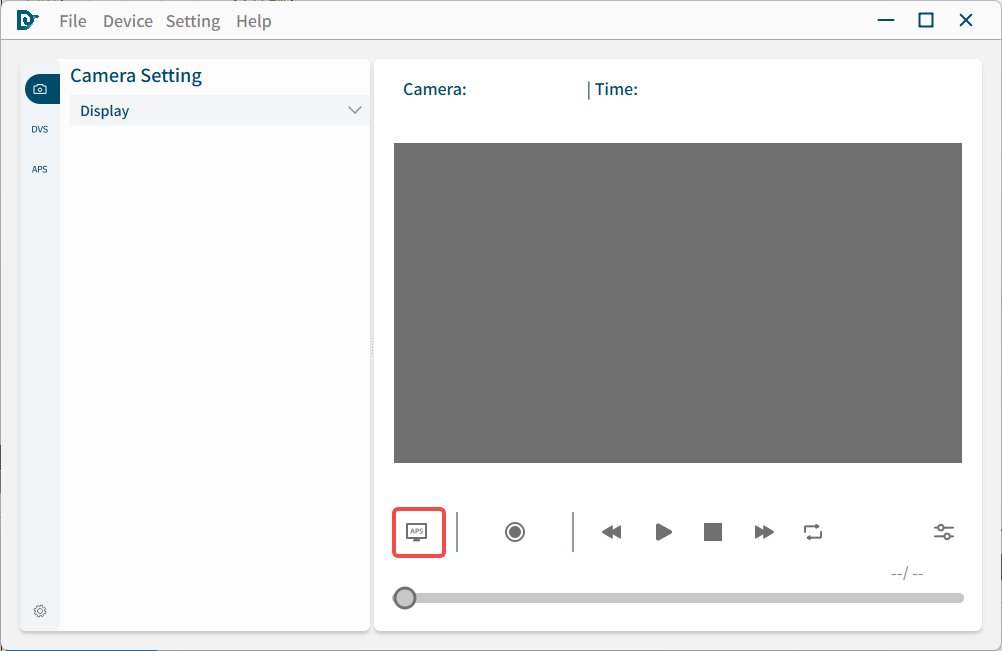
Use the mouse to inspect a region of interest in the event display:
Use the sidebar buttons to switch between the available configuration panels:
Click the active sidebar button again to collapse or expand the panel.
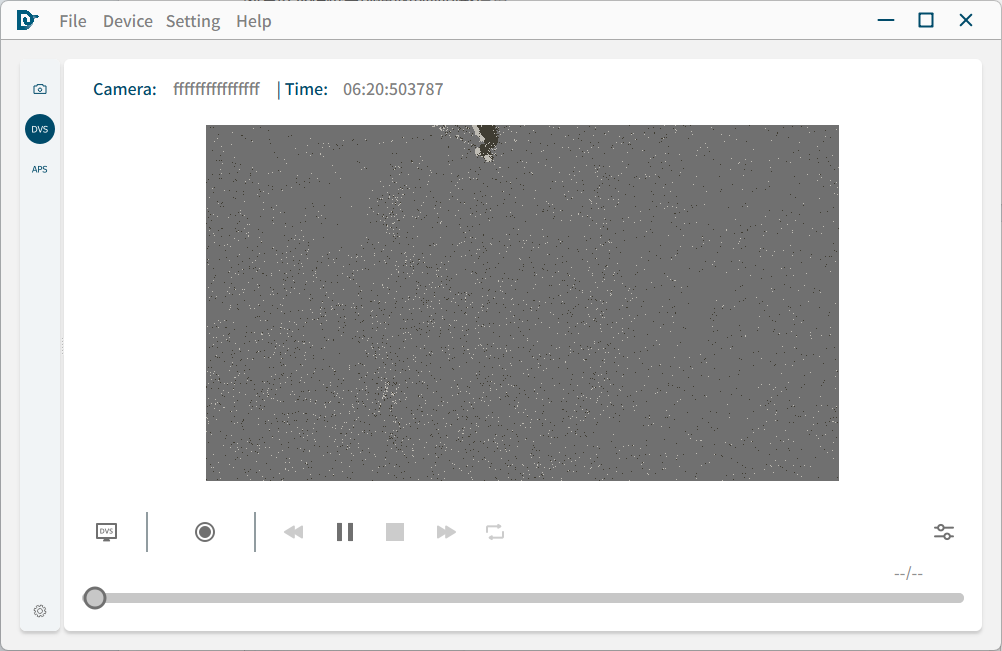
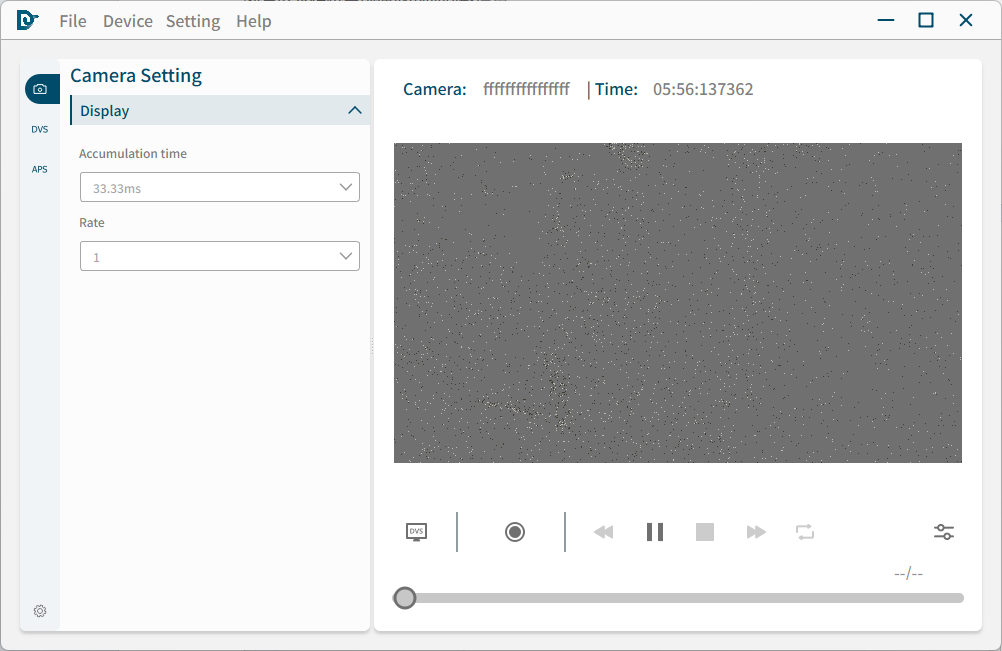
In file playback mode, only Display settings are available. In DVS camera playback mode, click the DVS button to configure DVS parameters.
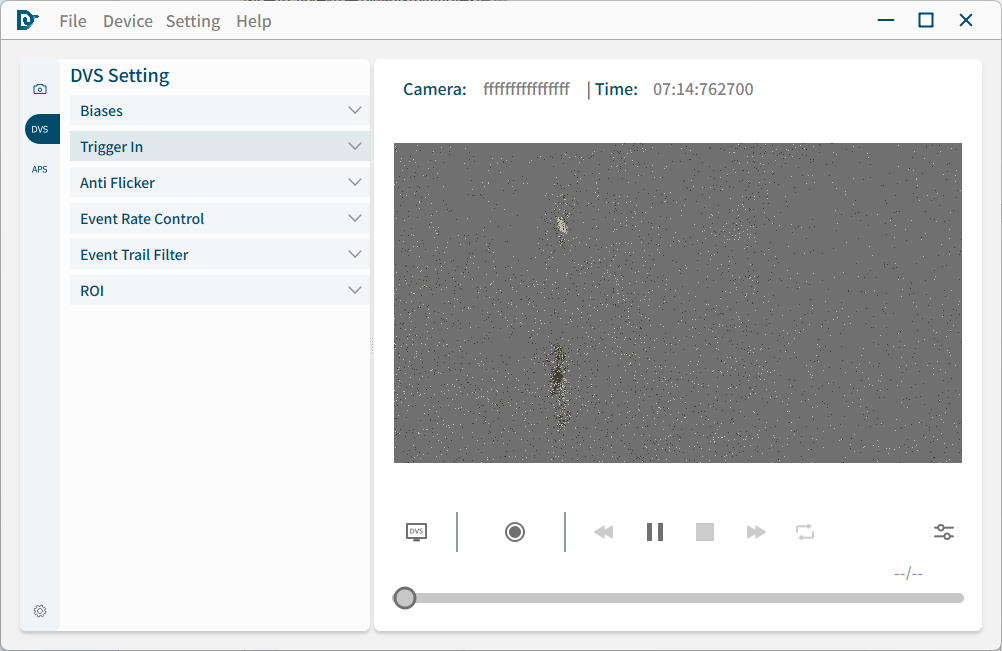
In fusion-camera mode, both DVS and APS parameters are available.
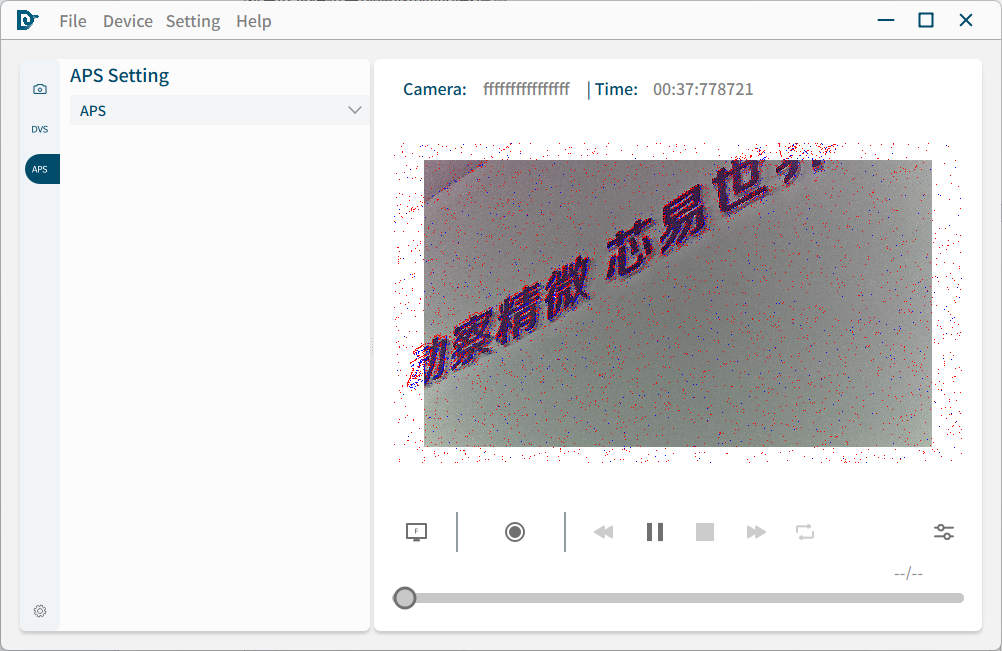
Display settings control the accumulation time and playback rate. Click the arrow on the right side of the Display heading to expand or collapse the panel.
Both accumulation time and playback rate can be changed during file playback. During live camera playback, the playback rate cannot be changed.
There are two ways to set Accumulation time:
Edit mode: click the text field and enter a custom value. The field is blue while editing and turns red for invalid input. Select ms or us; if no unit is entered, ms is used.
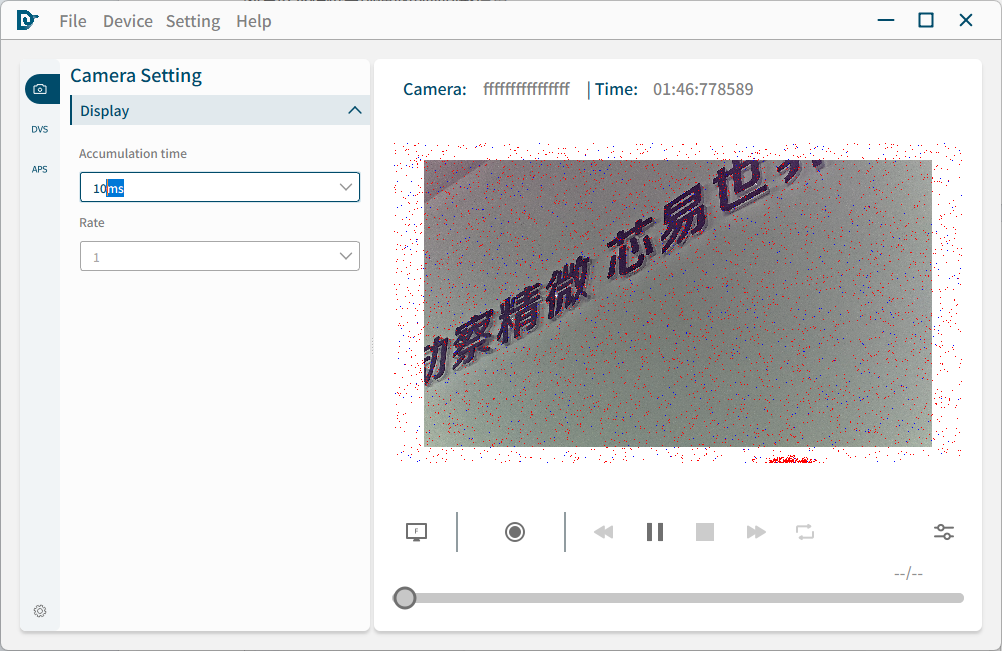
Drop-down mode: click the arrow and select a predefined accumulation time.
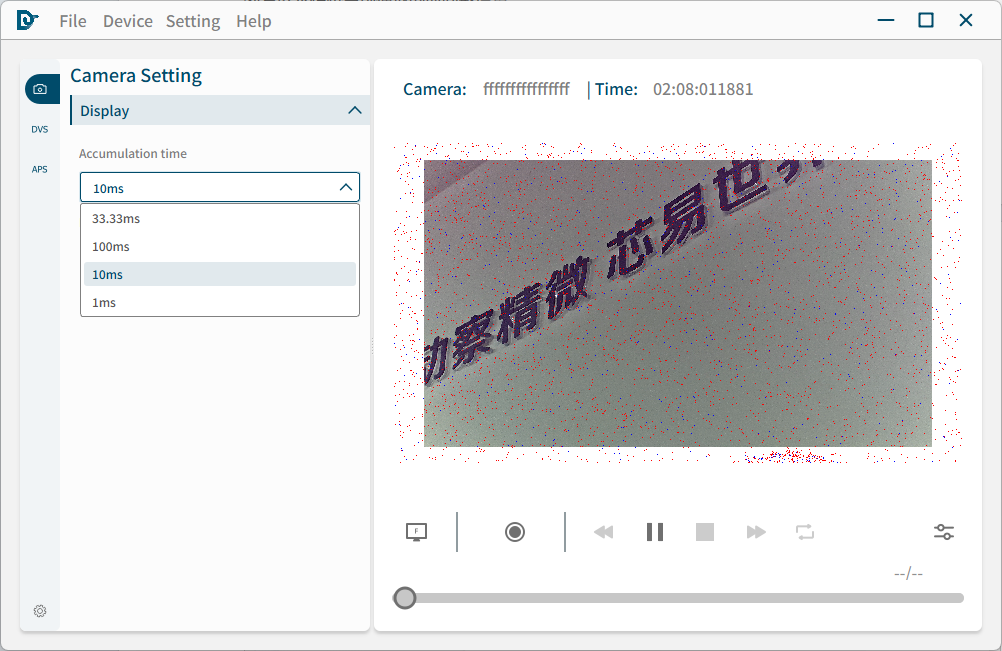
The playback rate controls fast or slow playback. The default value is 1, which represents normal speed.
The minimum playback rate is 0.003. The field supports both direct editing and selection from the drop-down list.
See the SDK Bias documentation for the meaning of each parameter. Click the arrow to expand the Biases panel.
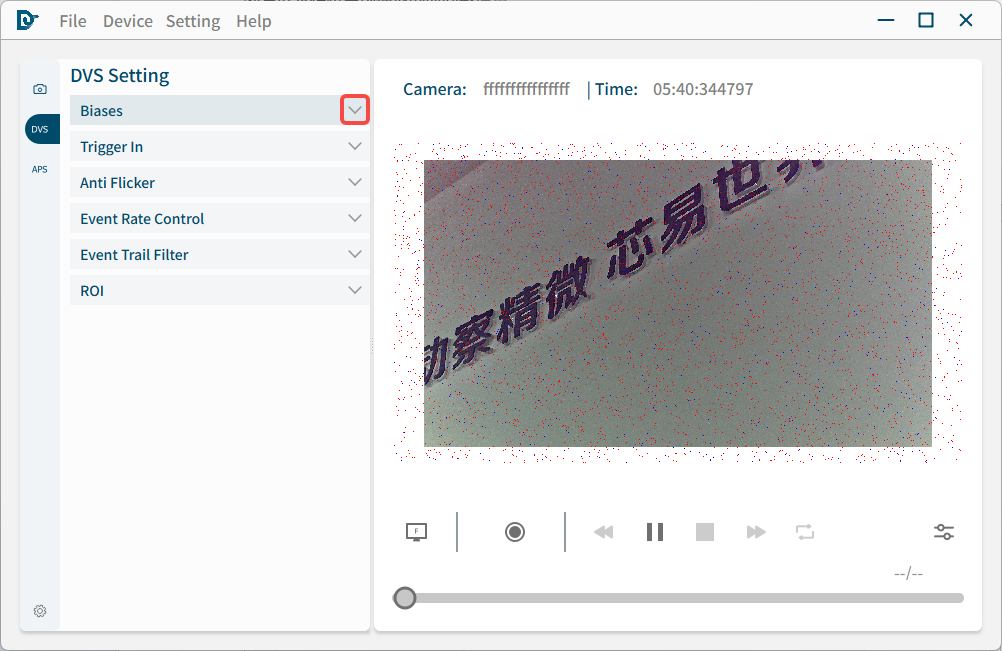
Click a parameter value to edit it.
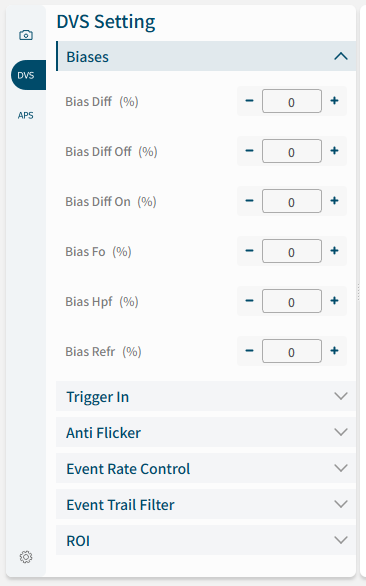
Use the slider or the + and - buttons for fine adjustment.
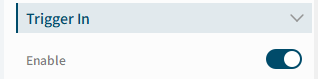
Click the switch to enable or disable Trigger In.
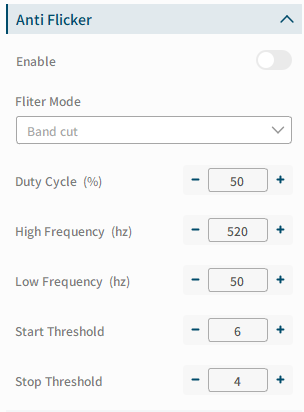
Anti Flicker filters events in a configured frequency range. Configure the parameters first, and then enable the function. See the SDK Anti Flicker documentation for parameter details.
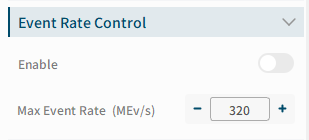
The default maximum event rate is 320 MEv/s, which means that rate limiting is disabled. Set the maximum event rate and enable the function to limit the upload rate.
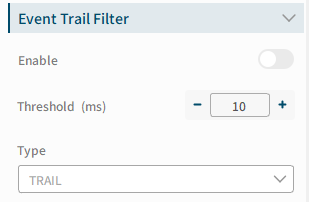
Event Trail Filter provides event-stream filtering. See the SDK documentation for detailed parameter descriptions.
Configure the ROI to transmit only the selected region of interest.
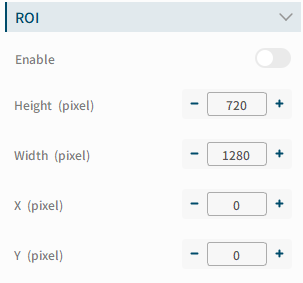
The default is the full sensor area. Set X, Y, Width, and Height to select a specific display region.
APS parameters are intended for DVSync fusion-camera operation. Keep the default values unless the application requires a specific APS configuration.
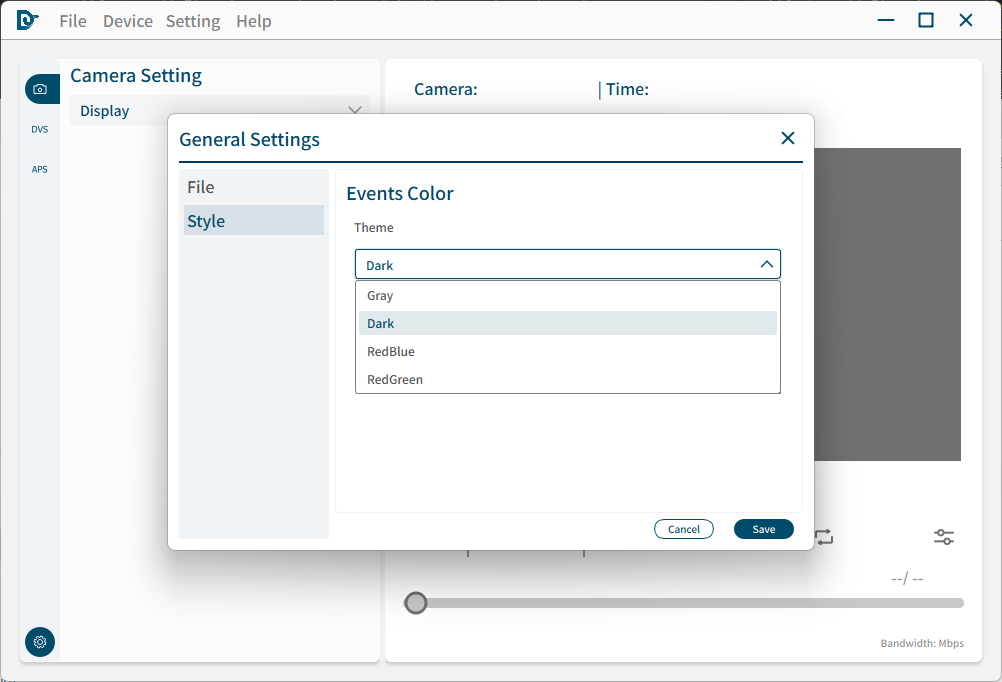
Click the General Settings button in the sidebar to open the dialog. It contains the following sections:
File settings configure the default recording directory and Trigger recording options.
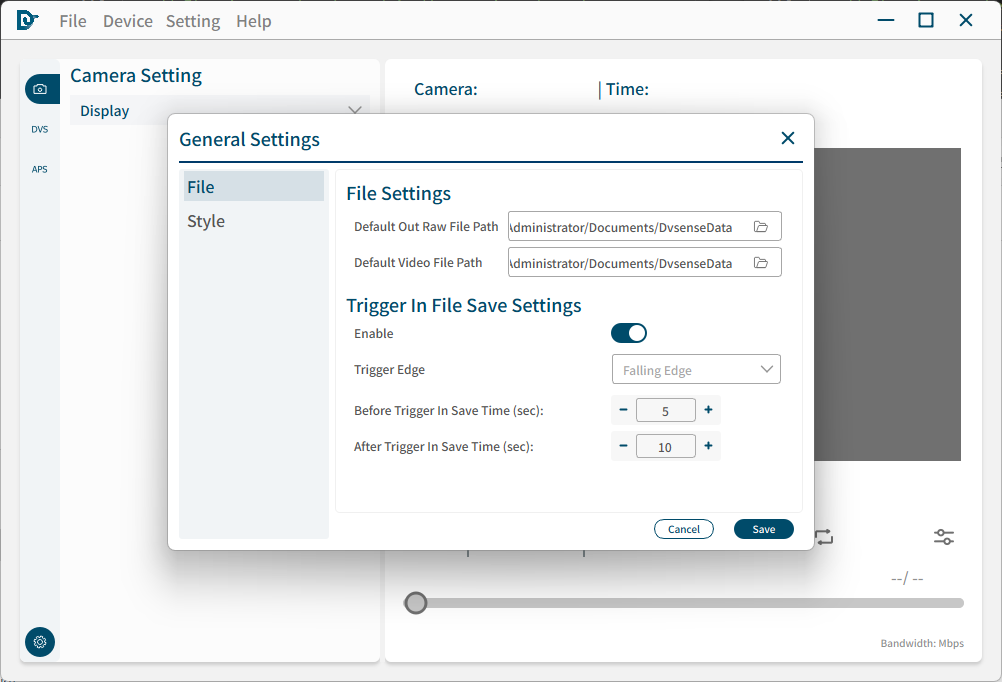
Style settings configure event-display colors. Available presets include grayscale, black, red/blue, and red/green.